Silverstack can create an .xml file compatible with Adobe Premiere Pro to transfer clips and clip metadata to the editing tool.
Exporting an Adobe Premiere Pro XML from Silverstack
The export option can be accessed from the “Export” button in the toolbar:
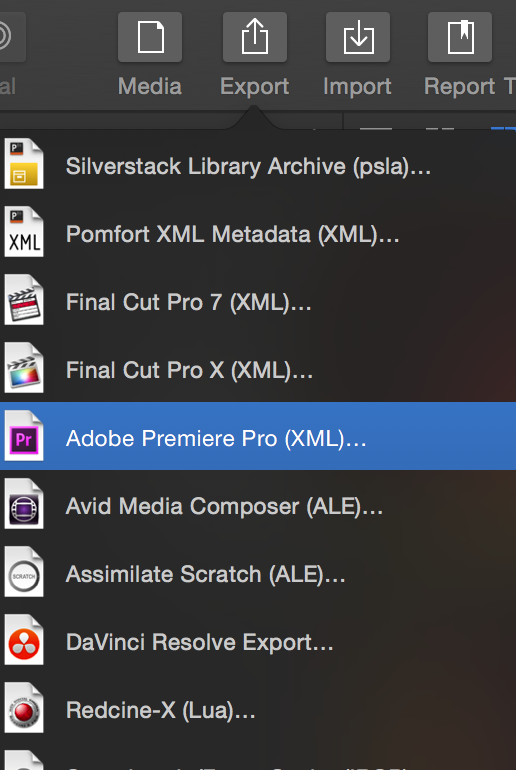
Fig. 1: The export menu
After the source selection step you can define content and format options for the exported XML:
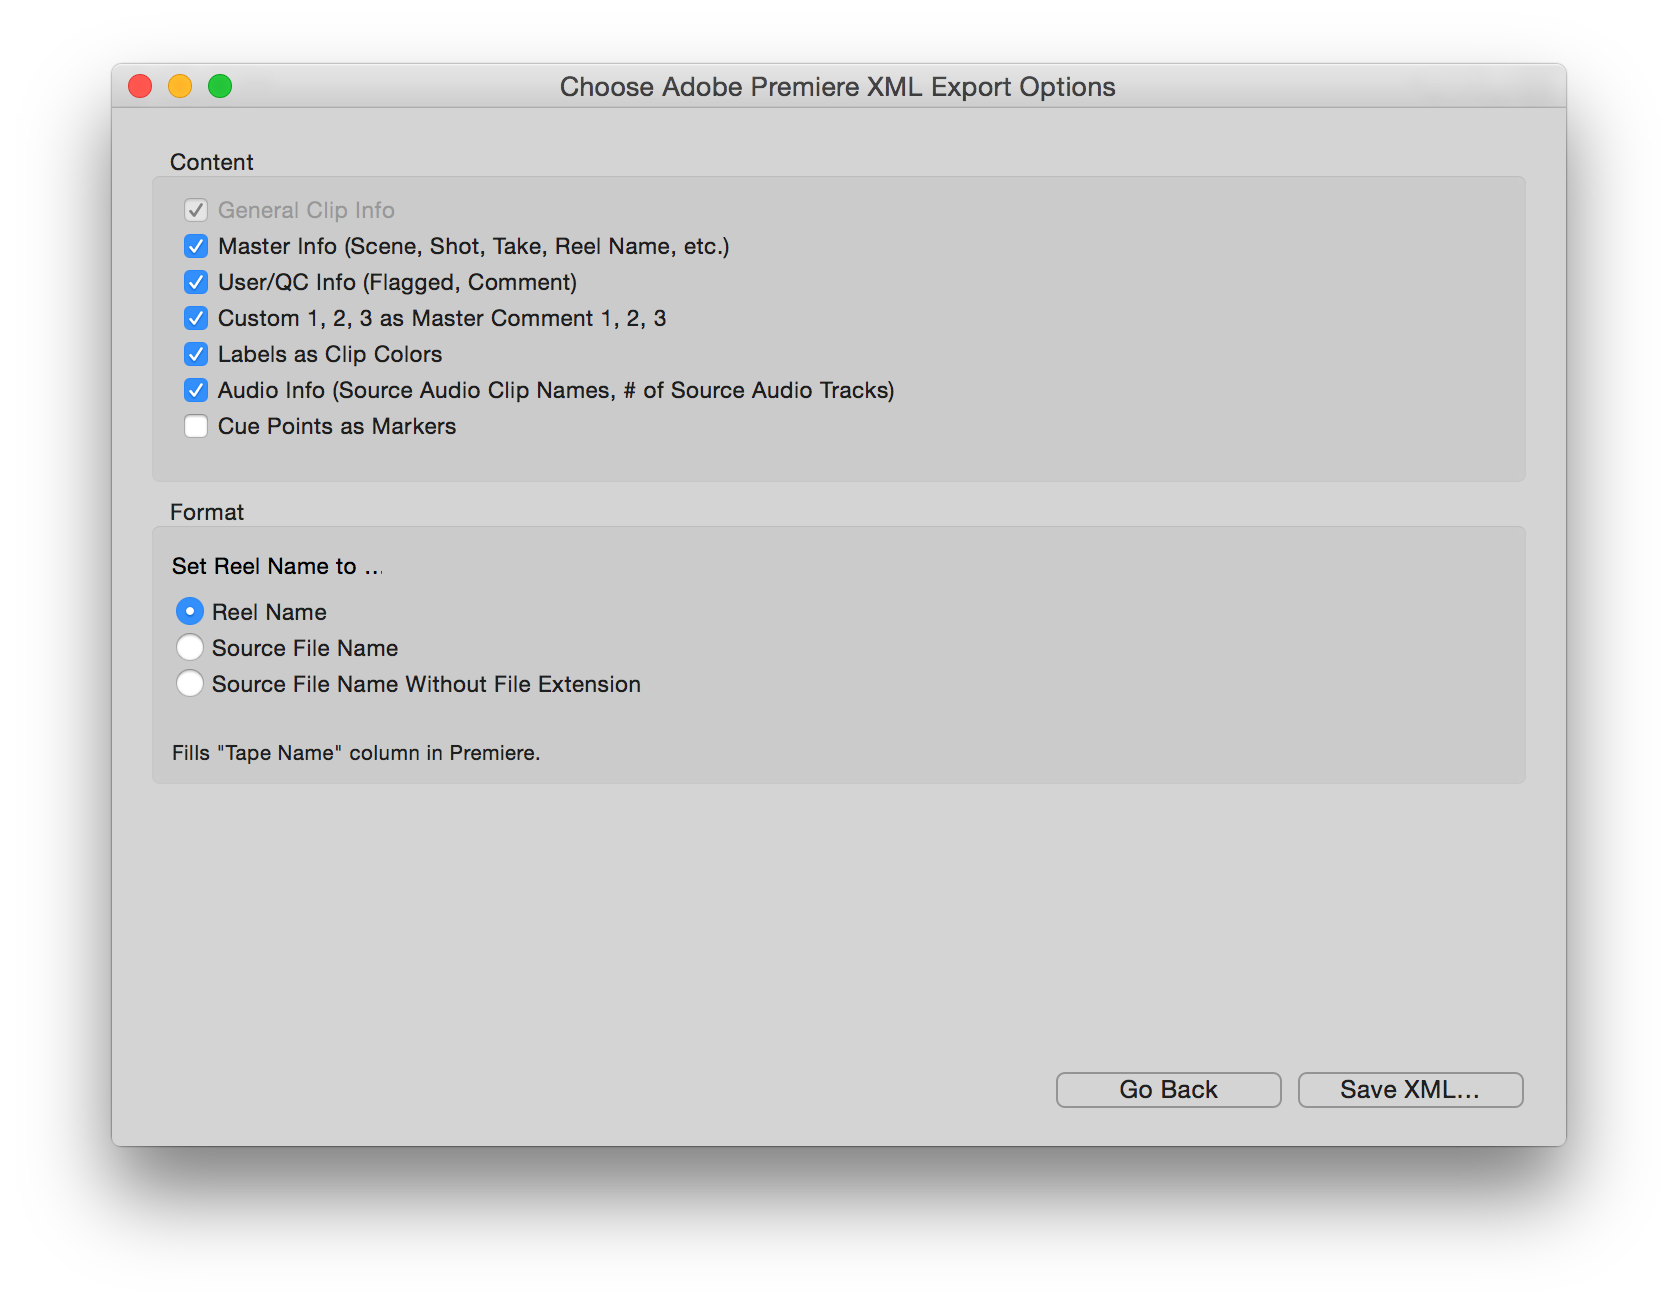
Fig. 2: Content and format option for the XML export
- Content:
- General Clip Info: Contains the basic information needed to transfer clips (file paths, etc.)
- Master Info: Contains Scene Shot Take info as well as the Reel Name.
- User/QC Info: Contains flag/circled info as well as Comments
- Custom 1, 2, 3 as Master Comment 1, 2, 3: Maps the custom comment fields in Silverstack to the master comments in Premiere Pro
- Labels as Clip Colors: Maps the labels in Silverstack to clip colors in Premiere Pro
- Audio Info: Takes over the Source Audio Clip Names column and the # of Source Audio Tracks Info .
- Cue Points as Markers: Maps the cue points in Silverstack to the markers in Adobe Premiere Pro.
- Format:
- Sets the Reel Name to
- Reel Name: Sets the Reel Name of the XML as specified in the Silverstack “Reel Name” metadata field
- Source File Name: Sets the Reel Name of the XML to the source file name of the clip in Silverstack (e.g. A003C012_160205_R2VJ.mov)
- Source File Name Without Extension: Sets the Reel Name of the XML to the source file name without extension (e.g. A003C012_160205_R2VJ)
- Sets the Reel Name to
In Premiere Pro the Reel Name of the XML will be taken over to the Tape Name column.
After defining the settings click “Save XML…” to export the Adobe Premiere Pro XML.
How to Open an XML in Premiere Pro
After saving the XML from Silverstack you can go ahead and open the XML file in Premiere Pro.
Open Premiere Pro. Go to the “File” menu and choose “Open Project…“. Choose the previously exported XML file and click “Open”.
The XML will import as a bin with all exported clips in Premiere:

Fig. 3: The imported XML folder in Premiere Pro
The post Transferring Clips and Metadata to Adobe Premiere Pro appeared first on Pomfort Knowledge Base.