
![]()
Introducing Silverstack Lab
Data Management and Dailies Creation in One.
Thank you for purchasing or testing Silverstack Lab. We value your trust in our company and products, and we will do our best to meet your expectations.
Silverstack Lab merges data management and dailies creation into one integrated activity. Footage can be backed up securely and organized transparently – while at the same time dailies can be created.
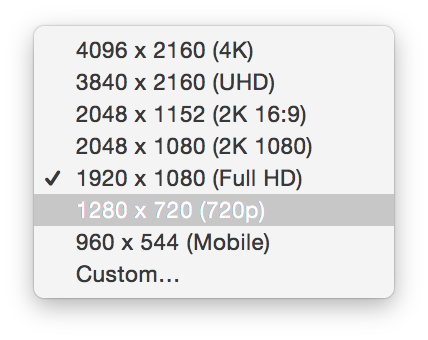
Silverstack Lab comes with a high performance transcoding engine, an automated audio sync function, and a library extension that simplifies the management of transcodes. By supporting the parallel creation of AVID DNxHD, ProRes, and H.264 files in various resolutions at the same time, the dailies creation process becomes extremely fast and reaches a new level of productivity.
Silverstack Lab bases on the proven data management functionality of Silverstack XT and extends it to handle data management and dailies creation in one application.
What’s New in Silverstack Lab:
- High-speed transcoding engine: Fast, hybrid CPU/GPU-based transcoding engine
- Transcoding to native AVID DNxHD MXFs: Transcode to DNxHD codecs in MXF wrapper for native use in AVID Media Composer
- Improved transcoding functionalities: Create custom transcoding configurations, preview the transcoded clips in the transcoding preview and transcode to MXF DNxHD, Quicktime ProRes and H.264
- Use of second GPU for transcoding: Use of second GPU for accelerated transcoding speeds
- Multi destination and multi format transcoding: Transcode footage to multiple destinations with different resolutions simultaneously
- Advanced burn-in options and overlay: Choose from various steady and dynamic burn in options and add a watermark to your transcoded clips
- Frame line burn-ins: Transcode your clips with burned in frame lines in various aspect ratios
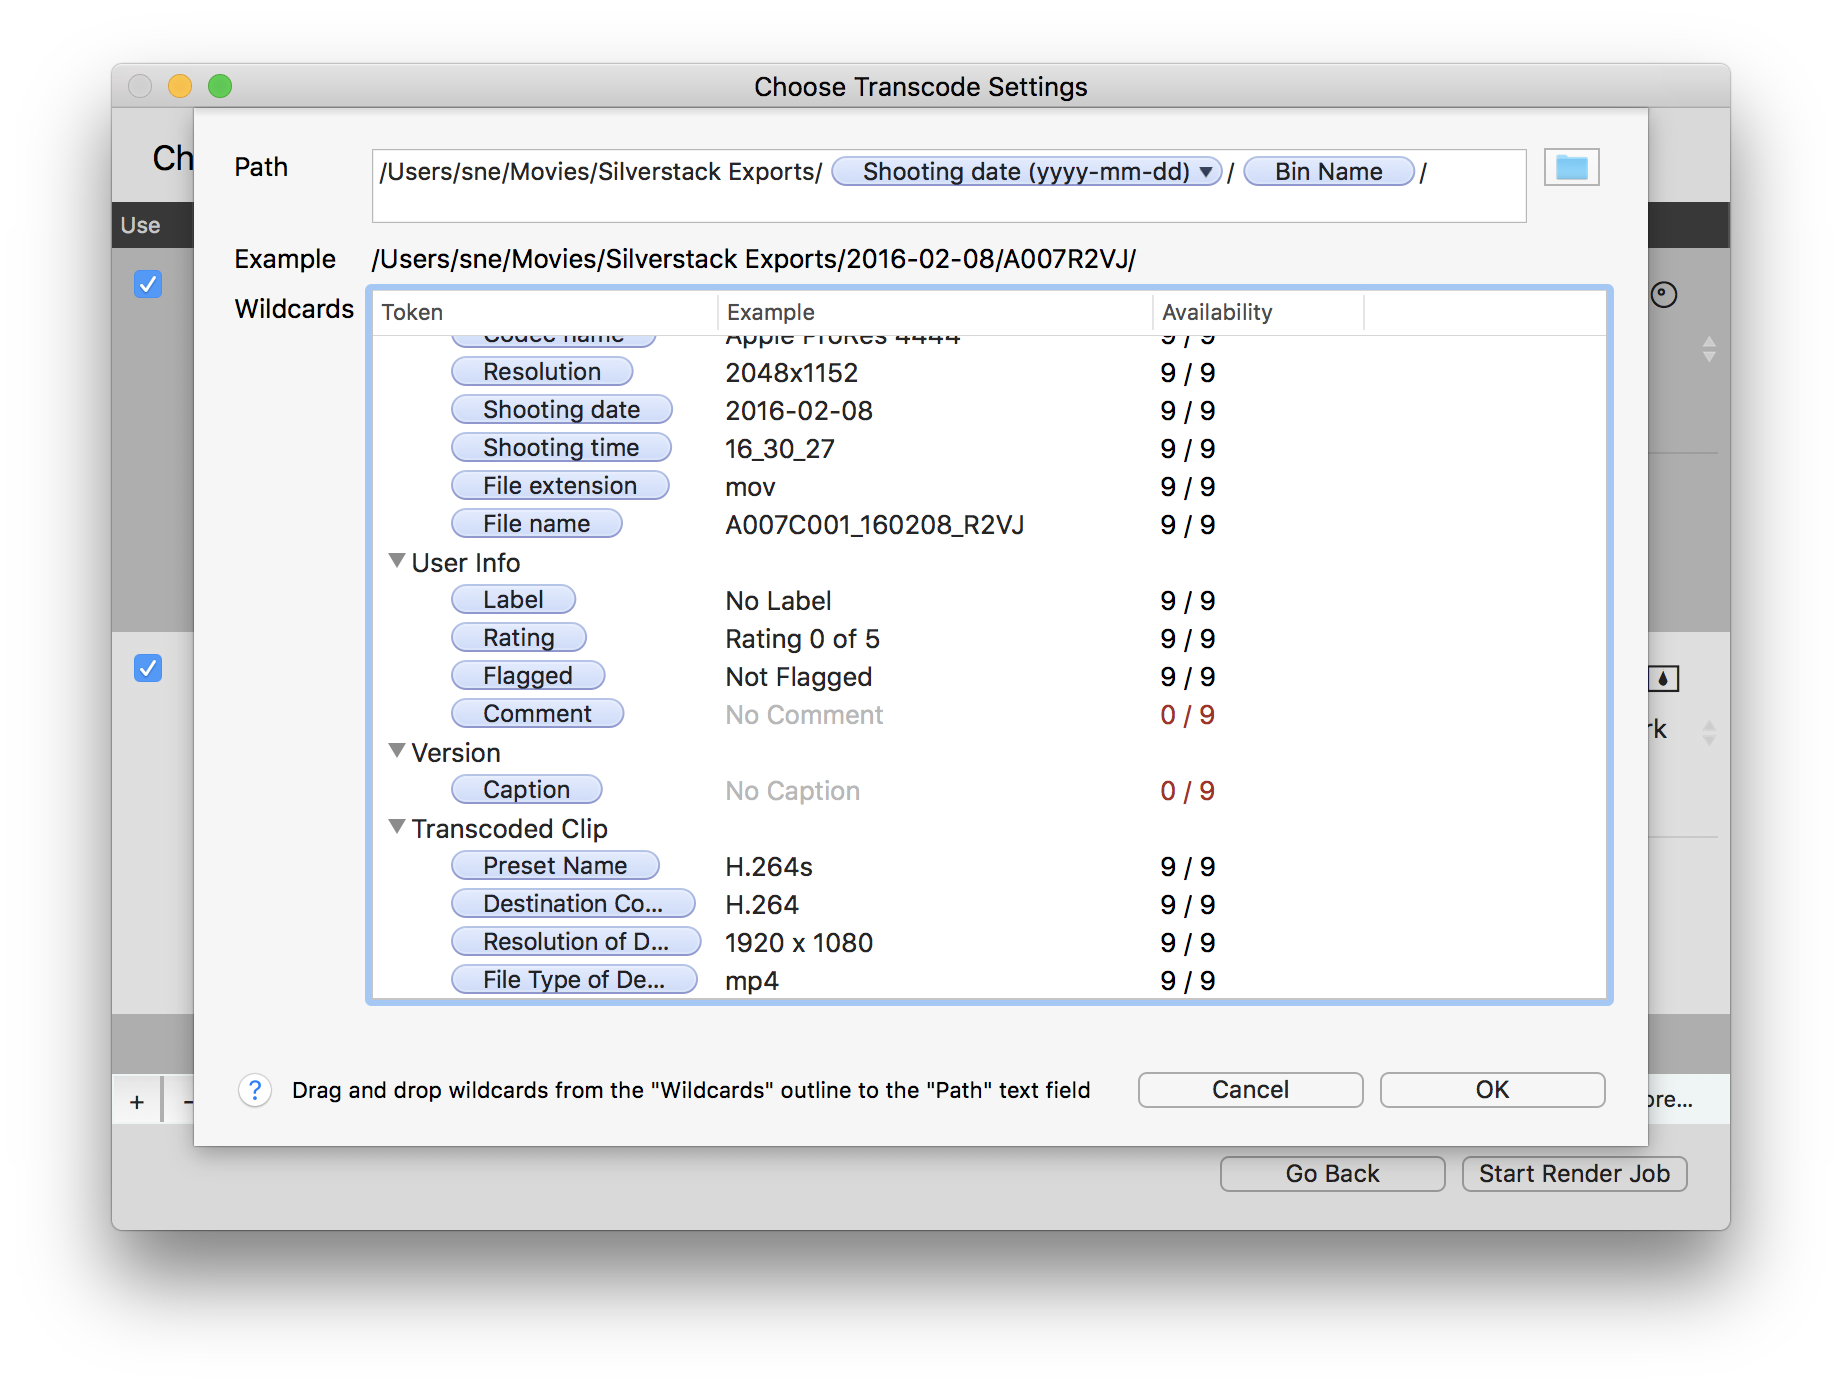
- Metadata workflow support: In Silverstack Lab’s transcoding configurations you can set which and how metadata files should be automatically created after finishing the transcoding jobs.
- Transcoding statistics: Profit from transcoding statistics to make sure to transcode all required clips
- Native support for audio clips: Automatic assembly of audio files (BWF, *.wav) to audio clips including metadata support, playback capabilities and integration in reporting functionalities.
- Automatic audio sync: Sync audio clips to video clips seamlessly with the automatic audio sync by timecode functionality.
- Multichannel audio in transcoded clips: Transcode clips with multiple separate audio channels
- Player multi selection grid view: Show multiple clips side-by-side and compare up to 12 clips in the player grid view
- UI Layouts: Quick configurations for the Silverstack user interface allow to jump to an environment for certain tasks with the flip of a switch. Choose from “Manage”, “QC”, “Color”, “Config (transcoding configurations)”
- Second display: Extend the Silverstack XT UI to two displays for a two screen working environment
- More formats with audio support: We added native audio support for ARRIRAW (.ari, external audio file), REDCODE RAW (.r3d) clips and Bolex Cinema DNG (.dng, external audio file)
Requirements
Silverstack Lab requires a Macintosh computer with macOS 10.10 or higher. Since we are using the latest of macOS technologies, we are not planning to support earlier versions of macOS, neither will we port Silverstack Lab to other operating systems in the near future.
If your Mac is equipped with an ExpressCard/34-, CompactFlash- or SD card-slot, you can directly offload clips.
Supported Advanced Media Formats
Silverstack Lab provides advanced features for many camera formats to maximize the efficiency of relevant on-set tasks such as quality check, playback and metadata management. For a detailed list of the supported formats, please take a look at the article Assets in Silverstack.
Generally Supported Media Formats
Silverstack offers a more flexible way of data handling by supporting all kinds of file formats – including sound files, photos, any camera media and all other production documents. With Silverstack, all files are copied and managed in the same secure way, which simplifies the daily tasks for DITs and streamlines subsequent post-production work.
Note: For real time playback of your offloaded video files the usage of a fast hard drive as a SSD card is recommended.
If you have further questions about supported hardware please let us know. If you would like to know more about data performance, you might be interested in this article for improving your performance.
Audio Clips
Silverstack Lab detects Broadcast Wave files automatically as audio and merges associated audio files together to audio clips. Learn more about Audio Clips in Silverstack.
Audio Sync
You can sync audio clips to video clips via timecode in Silverstack Lab. Read more about it in the article How to Automatically Sync Audio in Silverstack Lab.
Learn more about manual audio sync in the article How to Manually Sync Audio in Silverstack XT and Silverstack Lab.
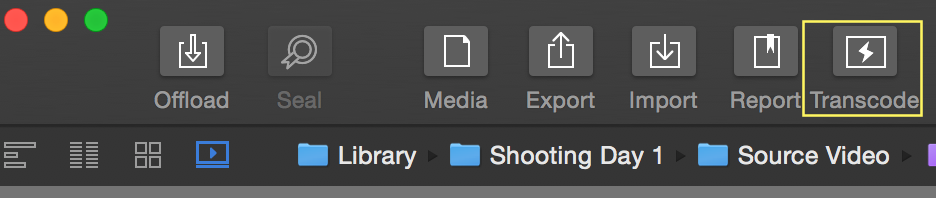
Transcoding
Create multiple custom transcoding configurations, choose from DNxHD, ProRes and H.264 codecs as well as transcode to multiple formats and resolutions simultaneously including burn-ins and overlays.
If you’d like to know more about transcoding in Silverstack Lab, please take a look at the Knowledge Base article Transcoding Clips.
User Interface
Learn how to use Silverstack Lab’s user interface in the article User Interface Overview.
Learn about Silverstack Lab’s UI Layouts that are shortcuts to certain user interface configurations in the article UI Layouts: Quick configurations for the Silverstack User Interface.
The second display in Silverstack enables a two screen working environment. Read more in the article Second Display: Two Screen Working Environment in Silverstack.
Offload and Backup Media with Silverstack
The get a closer look at the different copy modes in Silverstack Lab, please take a look at the following articles:
Organize your Material
Get a better understanding on how the Library works with the following articles:
The Clip Library: Bins, Folders, Smart Folders and Volumes
Metadata Handling
Silverstack Lab enables you to edit metadata information of your clips and files. Except some non-editable technical information as format, duration etc. you can change and add a lot of metadata. Related articles:
Tips & Tricks: Quick metadata editing
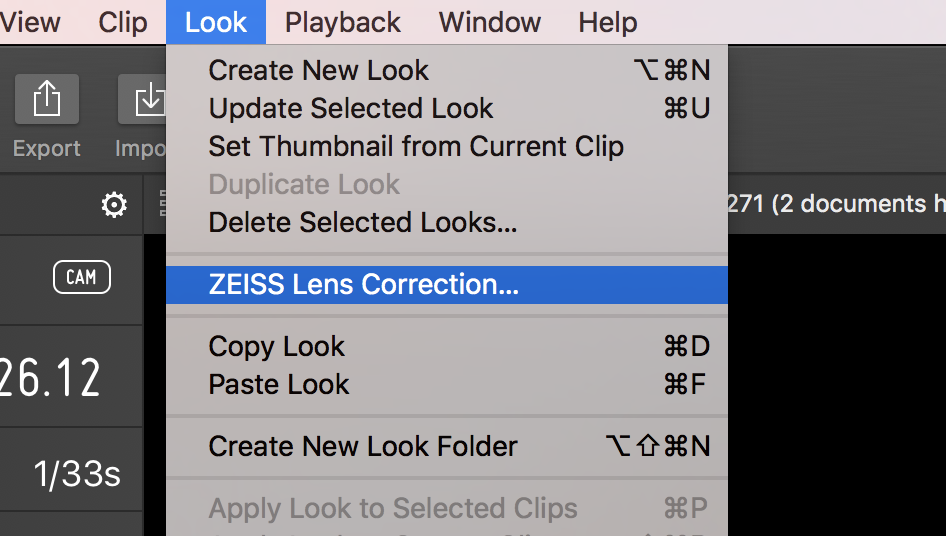
Look Management and Color Grading
Look Management and Matching
While using Silverstack Lab together with LiveGrade on set to manage clip data and looks hand in hand, you surely want to combine the created information afterwards. Silverstack Lab offers a solution to avoid assigning looks to clips manually. You can connect them based on the metadata you already created while generating them: Look Matching
Silverstack’s Look Library and grading controls enable you to receive looks from LiveGrade: Transferring Looks from LiveGrade Pro to Silverstack
Manage looks within Silverstack Lab in a look library in order to keep a proper overview of all the looks in your project. The look library allows to store new looks, edit their metadata, apply looks to one or multiple clips, as well as to import looks from LiveGrade: The Silverstack Look Library
Color Grading
Silverstack Lab supports different grading modes designed for specific camera setups and workflow environments: Grading Controls in Silverstack.
Player Grid View
You can display up to 12 clips side-by-side in the player to e.g. reference grades. Learn more in the article Player Grid View for Multi Clip Selection.
Look Transfer
Silverstack offers a solution to export clips to DaVinci Resolve including ASC-CDL color metadata. Additionally it is possible to set up Resolve with the according LUTs to reflect the color processing done in Silverstack: Transfer Clips to DaVinci Resolve Including Color Metadata
To learn about the process of matching metadata from an ALE file generated from Silverstack to master clips in Avid: Transfer Color Metadata to AVID Media Composer
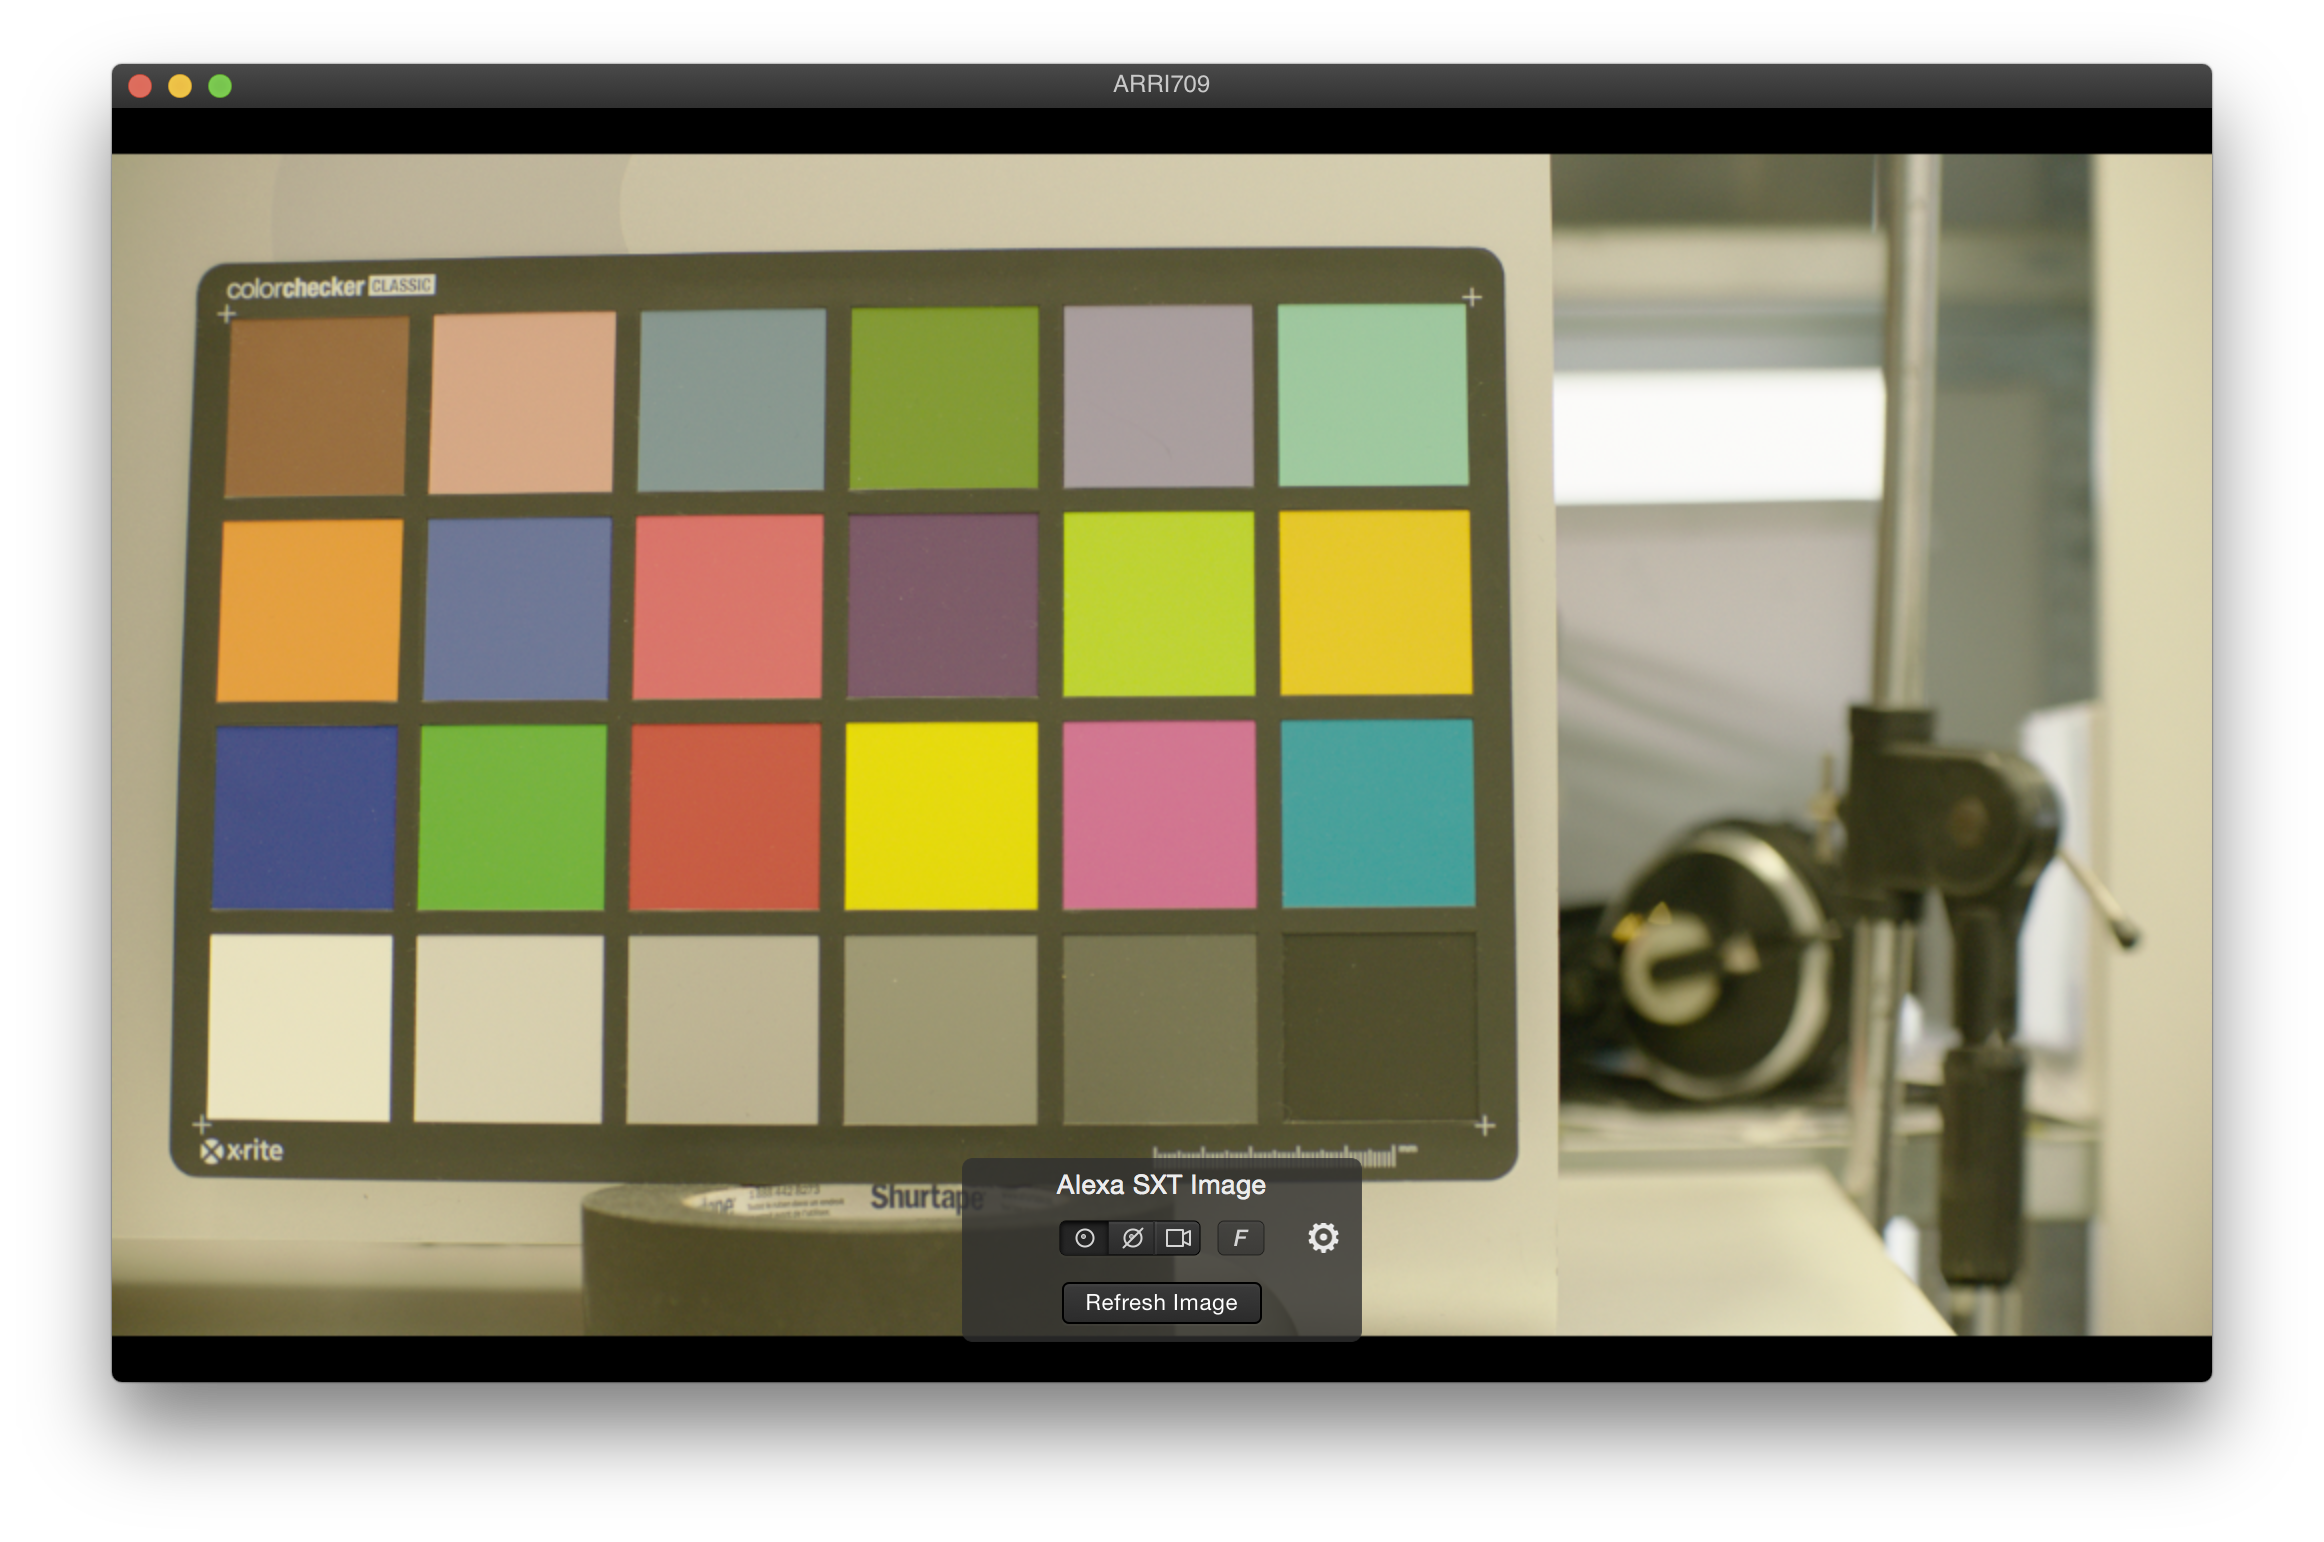
Quality Check
Silverstack Lab comes with HD-SDI output to play out ingested clips in best quality for QC on an HD-SDI monitor. The current clip in the player gets mirrored to the HD-SDI output showing the image in full-screen and 10 bit color depth: HD-SDI Output in Silverstack
Additionally, Silverstack Lab offers the possibility to overlay frame lines over the clips in the playback window, as well as for the SDI output: Frame Lines in the Playback View
Further more, functionalities provided within the “Visual Controls” panel allow to check the colors and quality of your video clip: Visual Control Functionalities in Playback Mode
Silverstack Lab offers audio playback of audio data embedded in video clips for preview and quality check: Multichannel Audio in Silverstack
The ability to de-squeeze footage recorded with anamorphic lenses and image flipping is also available in Silverstack Lab: Image transformation
Transfer and Report
Transfer
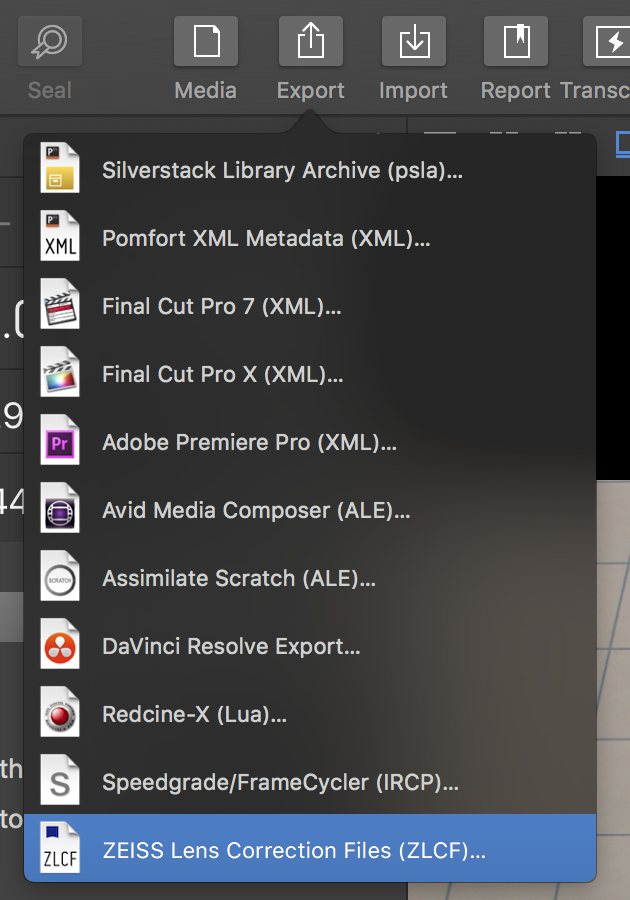
To process your clips and metadata in other Tools like Avid Media Composer, FinalCut or Speedgrade you can use the Transfer wizards.
Export options also involve transfer to:
Report
You can export a whole project, single or several folders, bins or clips, smart folders and the volumes. For more information:
Creating Reports
Library Metadata Transfer
Learn how to transfer metadata between workstations in the article Library Metadata Exchange.
Keyboard Shortcuts
Silverstack Lab provides a lot of different keyboard shortcuts. Please take a look at the Main Menu of the application to find necessary shortcuts to speed up your workflow.
Please be aware that not all of these shortcuts are available in each of the different functional areas within Silverstack. So it may happen that a shortcut won’t work in a certain situation. For example if you don’t have a clip selection then you cannot use the Rate selection keyboard short cut.
Learn how to customize shortcuts: Customize Shortcuts
For More Information Please Check Out Our Knowledge Base:
http://kb.pomfort.com/silverstack
Resources
[1] http://en.wikipedia.org/wiki/SxS
Copyrights
Pomfort GmbH © 2017
The post Silverstack Lab – Getting Started appeared first on Pomfort Knowledge Base.


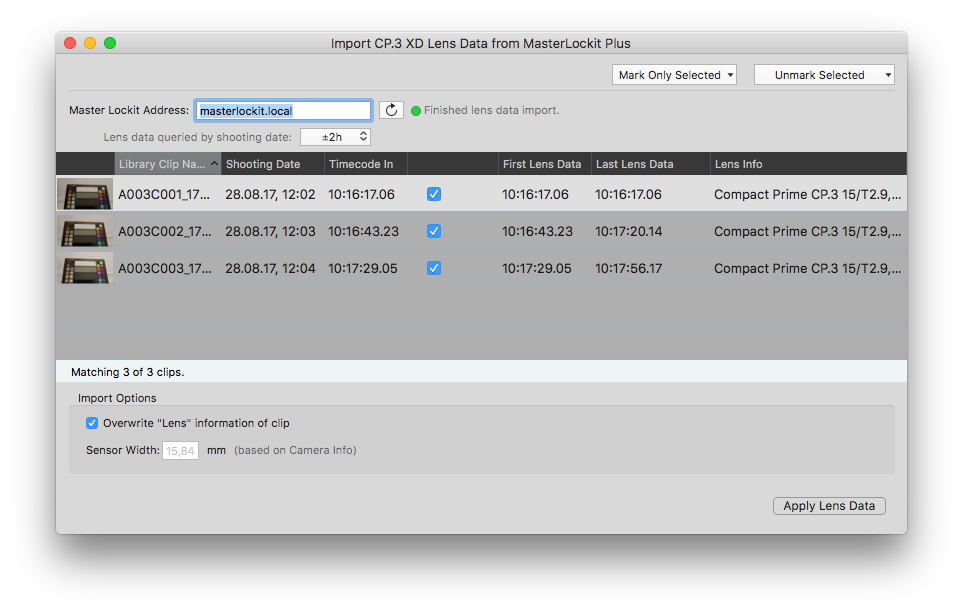
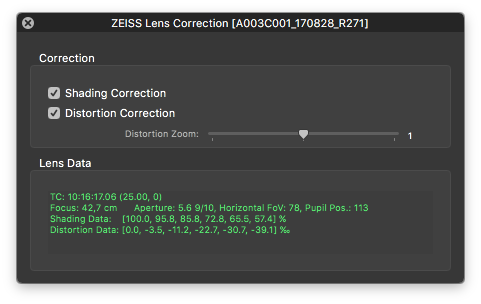

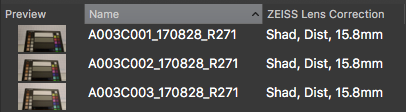


 LiveGrade Pro is able to receive realtime lens correction information from a ZEISS CP.3 XD lens that is connected to an Ambient MasterLockit Plus.


